Saturday, June 6, 2015

Gardening: Not Just a Mega Money-Saver

Gardening: Not Just a Mega Money-Saver

Gardening is a great way for our family to save a fair amount of money each year on our grocery bill. But gardening is hard work, and it requires dedication, consistency, and problem solving (all qualities that we are trying to teach our kids)! What could be better than providing our family with fresh foods that we know exactly how and where they were grown? The fruits of our labor are worth all of the difficulties!

Last year's purple beans and wax beans get a nice shower before going into the freezer.

Since we live in town, we do not have a good space for a garden, but our family has annually offered us a large garden space on their property a few miles away, and I am quite grateful! Though the spring and summer months, we visit our garden probably five days a week to manage all of the issues there. I like to talk about a few major topics surrounding gardens, like start up, plant choices, and our potato towers.

My awesome husband is keeping our soil
nice and powdery and free of weeds.

How do we get started?

Choosing our garden location is important. We need an area that gets a lot of sun. We want a spot that's pretty flat. We have to have good soil. The soil where we plant needed quite a bit of help our first few years. We cleared off the sod and found that our soil was rich in clay, and that isn't perfect for all plants. We did some soil samples and took them to our local experts where they gave us some suggestions to help our soil. Listen to experts. Everyone faces different issues, and experts help amateurs like me figure out a solution! Getting the soil nice and powdery is of utmost importance for a lot of technical reasons. We use a couple of techniques to get the concrete-like clay soil to soften up. We roto-till it first, and then I double dig the areas where our seeds and plants get placed in the garden. Double digging means that you dig a deeper hole than you actually need for your plants and seeds and place about 6" of loose soil under your plants and seeds to allow their roots to really go deep. Deep roots = healthy plants.


What do we plant?

Because I intend to store a lot of our produce, I only choose items that meet several requirements. First, our family must actually like to eat the food. I will not plant turnips, because we won't eat turnips. Second, the items we plant must work well in a canning, freezing or dry goods application unless we just plan to eat the fresh items as they become available. For instance, most lettuces don't can or freeze well, so I only plant as much as our family can eat fresh. Third, I try to plant foods that are easy to care for. Since my garden isn't out the back door, it requires our family to drop everything each time we need to work there, and since summertime is busy, I have learned to only tend to plants that aren't tricky or cantankerous.
Pepper plants and tomato plants are
 getting a good start!

Some of my personal favorites include:
-bush beans
-bi-color corn
-cucumbers for pickling
-bell peppers
-jalapenos
-potatoes
-several varieties of tomatoes
-herbs
-beets


What is a potato tower?

This potato tower holds our Pontiac potatoes. We planted celery in the top
 of the tower as an experiment. See how the tower is nestled in the edge of the garden?

Several years ago, we had some issues with our potatoes. I planted about ten pounds of seed potatoes and got very little yield. I was very disappointed, and scoured the internet for reasons why this could have happened. I know deep down that it was a combination of poor soil quality, poor upkeep with weeds and lack of space for root development. As a result, my husband and I decided to experiment with a potato tower that I saw online.

Basically, a potato tower consists of some kind of structure, (we used a piece of metal fence that we fastened into a cylindrical shape) that is layered with seed potatoes, straw, and soil. Our towers measure about 2 1/2 feet in diameter. We lay the straw on the outside and layer potatoes and soil. Eventually, the potato plants push their way through the straw and the leaves and flowers are all around the entire tower. When harvest time arrives, we unfasten the piece of fence, and potatoes are everywhere! We liked them so well that we decided to make two of them this year: one for Russet and one for Pontiac!

Glad About Gardening
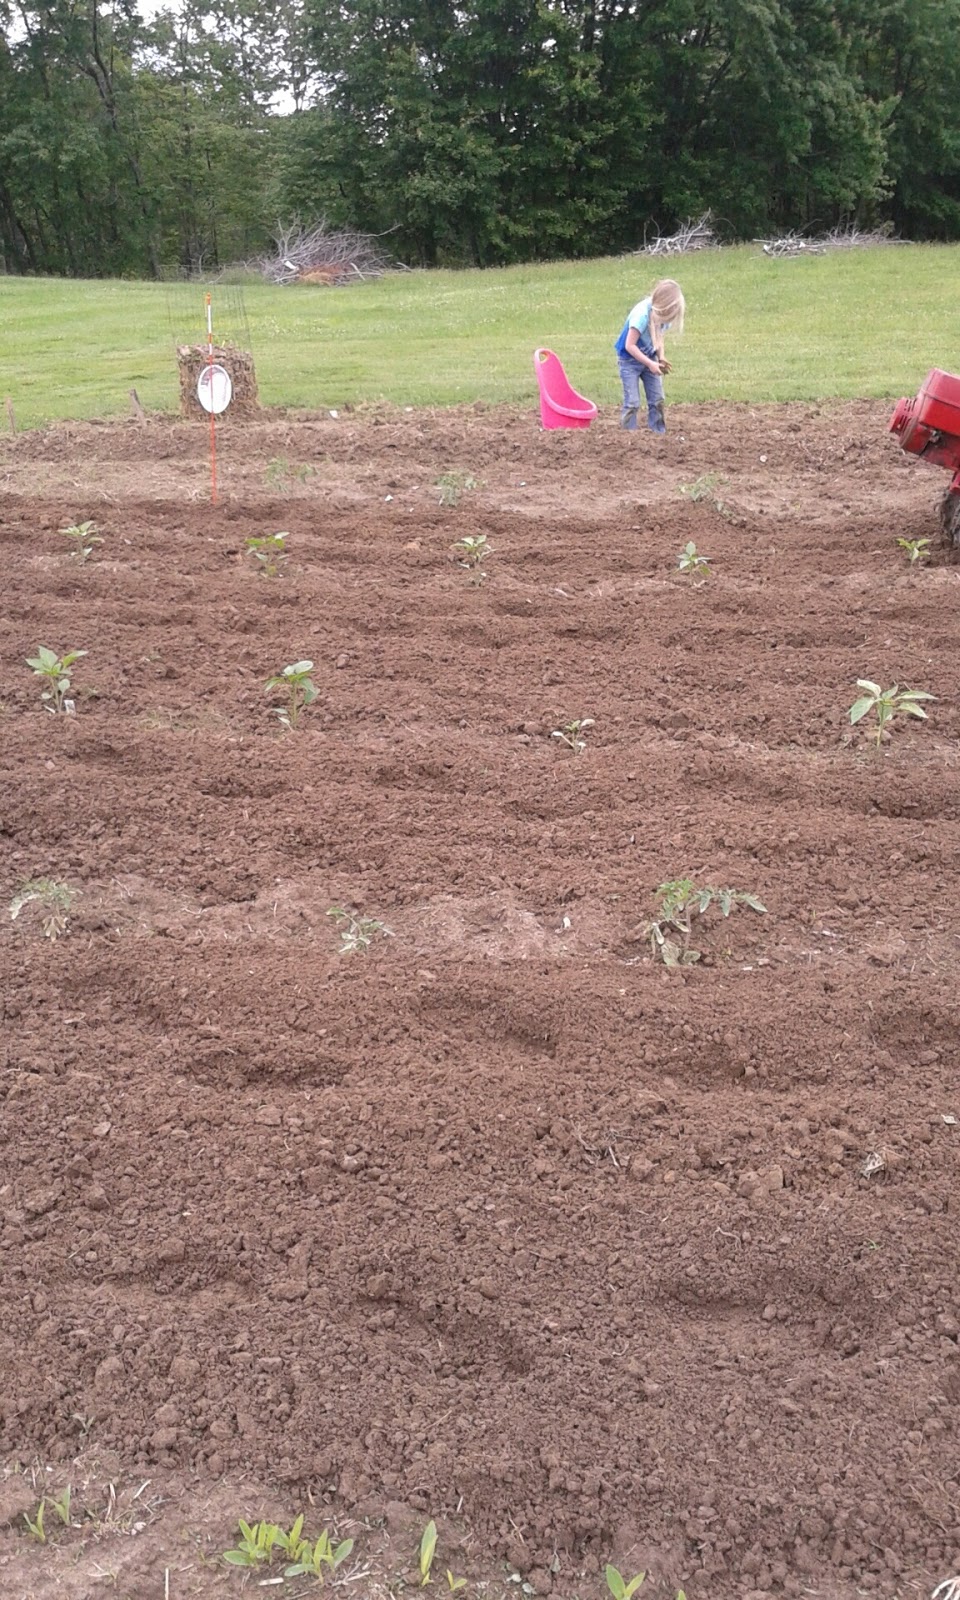
Our kids love gardening! You can see
our daughter playing in the dirt
 near one of the potato towers.
There are lots of times when I could complain about our garden. Yes my back hurts from working in it. Yes, I sometimes get too much sun. We have had blights effect an entire crop. But even so, the frustration is all worthwhile once the harvest comes! The garden does save us money, but the other advantages are immeasurable! Our kids are growing up watching their food grow. They are watching their parents work together to make something work. They are learning how to problem solve, and consistently care for something. They are watching a process and learning to be helpful. They are harvesting healthy foods and watching the process of storing foods. And sometimes we let them take charge of the hose to water the plants; what could be better fun? Plus, gardening is worthwhile exercise!


Our corn has popped up in nice little
rows. Some of it has been hoed, and
some still needs work.


A different angle of  the corn. We have
our pie tins tied out to keep the birds from
stealing our seeds!


Then God said, "Behold, I have given you every plant yielding seed that is on the surface of all the earth, and every tree which has fruit yielding seed; it shall be food for you
Genesis 1 :29

Tuesday, May 19, 2015

More About Laundry Soap

We ran out of our homemade laundry soap last week, and everything in our house came to a grinding halt. Luckily I had a couple of small containers of laundry detergent to limp along until I could afford the luxury of making more soap. This time, I was planning to go to our local hardware store to get all of the ingredients for making powdered laundry soap because they sent me a high-value coupon: $7 off of any $20 purchase!

I went to the store and purchased what I needed. Here's the cost breakdown:

2 bars of Fels Naptha $1.89 each- $3.78
Oxiclean                                        $6.99
Borax                                             $4.99
Washing Soda                               $6.49
4 boxes Baking soda                     $3.96- (I already had these on hand)
_________________________________
Total Cost                                 $26.21
Coupon                                   -  $7.00
_________________________________

Discounted Cost                       $19.21

My laundry soap batch usually lasts our family of five about six months. Less than $20 in detergent will last our family through the next six months!

The link above includes adding a scent booster of some kind, but I leave it out of my big batch and add in some kind of fragrance to individual loads if I want. The Fels Naptha adds a nice clean smell on its own. I like the plain detergent on my kids' clothes, and I add Downy Unstopables to bath towels and adult clothes to make them smell great.

There's nothing that feels like getting a great deal on an already awesome homemade detergent!


Tuesday, May 12, 2015

Angel food cake is from the devil

So today has turned into a crummy day.

It started off as usual with running here and there taking kids to and from school, running to the store and completing errands like any other day. This day has been utterly jam-packed with little annoying occurrences that started this afternoon.  I attempted to make a from-scratch angel food cake to take along to dinner with some church friends later on. I've never made an angel food cake before, but I wanted to practice because my daughter asked for Ree Drummond's Strawberry Sparkle Cake instead of a traditional birthday cake this year. I'm not a very good baker, so I decided to give it a test run today, and the cake was a total flop.

I began by following the directions as listed in Ree's detailed, picture-guided tutorial, and I cracked eggs and separated them, and I sifted and sifted and sifted ingredients as the recipe commanded. I got the cake in the oven and looked at the clock to see that it was 2:34!  I had exactly 9 minutes to wake my two younger kids from naps and get them in the car to go retrieve their older sister from Kindergarten.

How could I let time slip away from me like this?! I thought to myself as I ran up the steps to get our youngest up. His sister had awakened and headed downstairs by now. As I walked into his room, I was greeted with the smell of dirty diaper, and I found my son sitting on the floor with an overflowed diaper. I quickly assessed the rest of the room, and I found that the overflow started in his bed and trailed throughout his room. I scooped him up from the floor and carried him to the changing table to see about cleaning him up. It took a quick assessment to determine that this was a mess that required a bath immediately. But I had no time to give a bath and make it to Kindergarten pick up on time. I carefully pulled out my phone to see if my husband could pick our daughter up from school; it's 2:41 now. The phone rang and rang. No answer. I called his secretary. She informed me that he was out of his office. I called his cell again. Straight to voice mail. Great.

I quickly began drawing a bath and plopped our messy son into the water and scrubbed the mess from his adorable skin. A scream from downstairs reached my ears as I pull our son from the bath. Our middle daughter comes crying and running up the stairs; she has a smashed finger. It is cut, and I am holding an angry, dripping wet boy at 2:47. We are already two minutes late. I send her crying into the bathroom to rinse her finger in cool water while I race through the boy's foul-smelling room to find some clean clothes. My phone rings. It's my husband. I explain the situation, and he says he can quickly run to get our Kindergartener from school. Hallelujah! My husband swooped in to save part of the day!

Thankfully the pinched finger was perfectly treated with the cool water, and she calmed down and decided to catch up on some cartoons. I got our son dressed, swapped out the nasty bed sheets for clean ones, used about a can of Lysol in his room and did a quick clean up of his carpets before I headed back downstairs. While I was gathering the grossness and placing it in the hamper, my son was playing with his closet door, opening and closing it and laughing. On one particular close, he put his finger where it wasn't supposed to go, and the wailing began again. The finger smashing broke the skin just enough to freak him out, so we went to rinse his finger in cool water too.

It took a moment to calm him down, and then I was determined to make it back downstairs where I could take a second to catch my breath. About half-way down the stairs, I smelled something. The cake! I had forgotten about the cake! I went to the oven and checked its' progress, and all was well with the cake from appearances.

I finished with the allotted bake time and tested the done-ness. It looked great. I flipped it over and let it begin to cool. Though I wasn't aware of it yet, I had messed up with the pan. I don't have an angel food cake pan, but I do have a silicone Bundt cake pan, and I assumed that would work out OK; it did not. When I began to pull the fluffy cake from the pan, things went awry, and I had a terrible mess on my hands. It came out of the plan in stringy sections that were ugly. I attempted to taste it, and I can only explain to you that it tasted like overcooked scrambled eggs with sugar in them mixed with dish soap. It was terrible. Apparently the light folding that I did was not enough to thoroughly incorporate the five-times-sifted super fine cake flour, and I found it in large clumps in other places in the cake. My kitchen was a disaster, and I had nothing to show for it!

The entire mess ended up in the trash can, and I am determined to purchase the rest of the angel food cakes that I will need in the future from a reputable bakery when I can find them at a good price. Maybe that's not fair for me to do because I had such a rough time otherwise during the prep/baking time for this cake, but still. I can rejoice in this day without rejoicing in this cake.

This is the day that the Lord has made. We will rejoice and be glad in it. Psalm 118:24

Monday, May 4, 2015

Swedish Meatballs


My husband gets frustrated with me at times because I am exceptionally creative in the kitchen, and I often can make a dish one time, but then I never remember how to recreate the dish exactly the same way again. I made this batch of Swedish Meatballs tonight, and my husband LOVED them! But he jokingly told me that though he thinks he'll never get to eat them again because I won't remember how I made them. Just for that, I decided to document my delicious experiment just to spite my hubby... kind of. Now that I think about it, I think maybe he was using reverse psychology on me.

Anyway. Here's the delicious details. 

Ingredients

4 c. hot water + 1 T cold water
3 chicken flavored bullion cubes
2 T powdered ranch mix 
1-2 T Worcestershire
about 20 frozen meatballs
2 T cornstarch
wide egg noodles
1/2 c. heavy cream
1 T chopped parsley 

Instructions

Add four cups of water, three chicken bouillon cubes, and 2 tablespoons of Hidden Valley Ranch powdered mix to a large skillet and bring to a boil. Add Worcestershire and about 20 frozen meatballs, and return to a boil. Mix one tablespoon of cold water with 2 tablespoons of cornstarch and stir into the boiling liquid in the skillet. Keep stirring.

In another pot, cook a half of a bag of wide egg noodles per package directions. Cook until almost tender, then scoop with a slotted spoon into the skillet with the meatballs and sauce. Finish cooking the noodles in the sauce. Add some of the starchy cooking liquid from the noodles if the sauce gets too thick. After the noodles are totally tender, add 1/2 cup of heavy cream and 1 tablespoon of chopped parsley. Stir and reduce until sauce is thick and bubbly. Yield: 5 servings

Tuesday, April 21, 2015

Becoming Artsy- Learning How to Be Sane

A little less than a year ago, I was getting close to the end of my rope when I learned I could paint. Motherhood wasn't anything that I expected, and I was feeling beyond overwhelmed. At the end of each day, I would fall into bed, an emotional mess, unable to sleep well. Because I couldn't sleep, I would pull out my phone and look at all kinds of beautiful things that people were making and posting on Pinterest. For a while, I began to feel awful about my situation, and maybe even a little worse because I was comparing my cluttered, messy home to the gorgeous photos all over my pin boards.

One day, though, I talked to my husband, and I told him I really wanted to try to do some of the things I saw on Pinterest.  A friend gave us some pallets that he was going to burn, and my husband and I got busy pulling them apart, putting them back together, and generally making our garage unusable for our vehicles! I got a small paint set from a craft store for less than $20, and I began experimenting. I enjoyed it so much, and my first painting turned out much better than I expected. Since our county fair was coming up soon, I decided to enter my painting, and guess what? I got the first place blue ribbon! How in the world can someone live on this Earth for 30 years and not know about their own ability to paint!?!

This is my very first painting that I did just weeks before I turned 30! What talents do you have hidden? 


After that blue ribbon, I got really excited about painting. Painting on old, beaten up pallets was an awesome stress reliever for me.Old pallets allowed me to not be concerned about messing up, and it seemed that they are pretty easy to make look nice! It seemed the more I swiped the paint across the "canvas," the more my stress seemed to melt away. Initially, I used Pinterest as a template for each item, but then, my creativity began to bloom, and original ideas would come to me. I think painting helped keep me sane through the summer and the transition of my daughter going off to Kindergarten. On days when I was particularly stressed, some of the most beautiful art came out of my paint brush.

As friends and family members heard of my "art" (aka sanity), people began offering money for these pieces! I couldn't believe people would pay me a fair price for my stress relievers! I began selling a few items, and some suggested I set up at a couple local craft shows, and I had great success. I had painted, and my husband had helped me get everything ready. We had truly hundreds of pieces including signs, Christmas decor, and even some furniture!

At the craft show, many ladies kept asking me, "How do you have time for all of this when you have three kids?" The answer is simple: It keeps me sane. If I keep all of these beautiful ideas locked up, I am miserable. If I have an outlet for creativity, my husband and kids can tolerate living with me much better!

My mom says I am technically a professional artist because I have sold my art. I don't feel like a professional artist because I do it only because I love it so much. Honestly, I feel like painting is a little gift that God has given me to allow me to take time to think about how beautiful His world is and to imagine how much he loves His creation. As I dip my paint brush and smear colors together, I can imagine His delight as He created the beauty in the flowers of the field. I think about all the complexity of color and contrast of light and dark, and somehow, the rest of my worries are gone for a little while.

Below is my most recent art piece in process. This is a Bee Hive into which a friend is getting ready to introduce a new swarm of bees. The box was already built and ready for me to paint! She asked for it to be "girly," and I have been happy to oblige!

Isn't this a great place for bees to live?
What creative outlet keeps you sane? Leave your comments below.

Thursday, April 16, 2015

Strawberry Pudding "Pie"

I have never met a strawberry dessert that I didn't like, and this one is ah-mazing! It is low in calories and fat, and it satisfies the sweet teeth in our household without going crazy in the calorie department!


This super fast and simple recipe is a mix between an Angel Lush dessert that my mom makes from time to time and my grandma's banana pudding recipe. No bananas in this one, though.

It starts off with about a half of a box of vanilla wafer cookies. Line them up in an orderly fashion to cover a pie plate. Crumble a few if you'd like to try to cover the whole bottom. This is not going to slice nicely like a pie, so the crust doesn't have to be perfect.


Next, follow the directions on the box to make a large box of instant sugar-free fat-free vanilla pudding.  Make sure it is super smooth.


Next, strain the juice from a can of crushed pineapple, and add it to the pudding. Add a tub of whipped topping. You can use a lite variety of this as well to cut calories and fat again,


Mix well with a low speed on the mixer or with a rubber spatula. The mixture should be pillow-y and pretty when you're all done. I like to use a clear glass bowl for recipes like this so I can check to see if I mixed well enough.


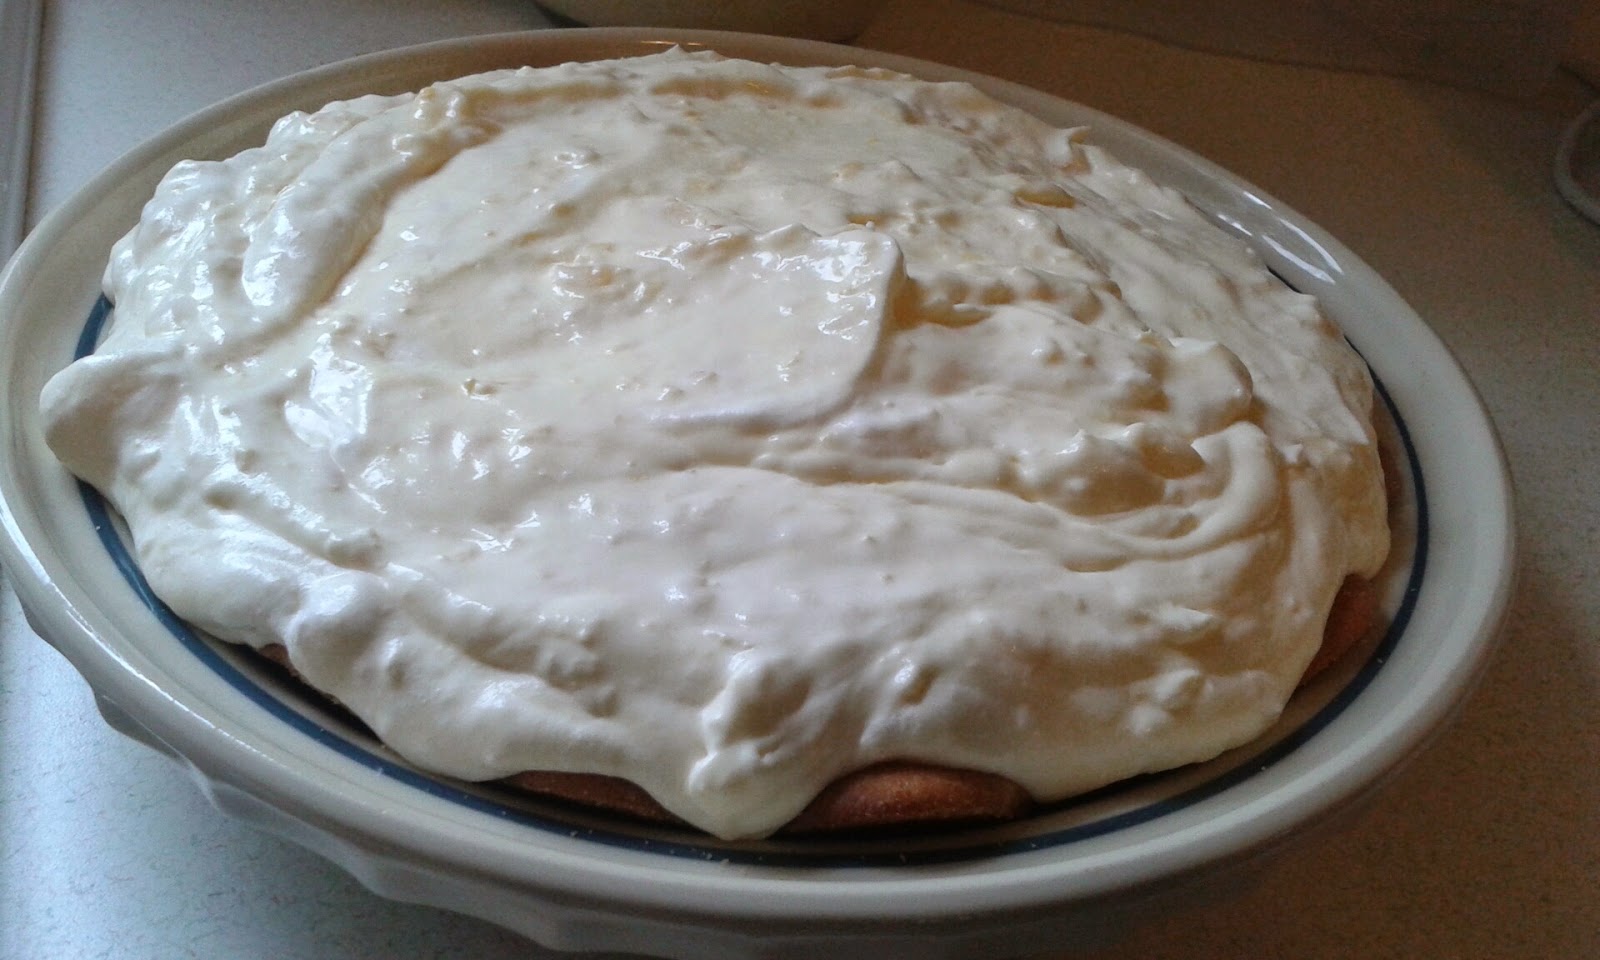
This is where it starts getting really goooood! Spoon the mixture onto the cookies. I can't seem to get the whole amount of the mixture into the pie plate, so I reserve about a cup or more for snacking... for the kids, of course!


Aren't these strawberries pretty? I used seven because they were so big and pretty, but you can add more or use fewer depending on your taste. I cleaned up the stems and began to slice them up.

 Yum!

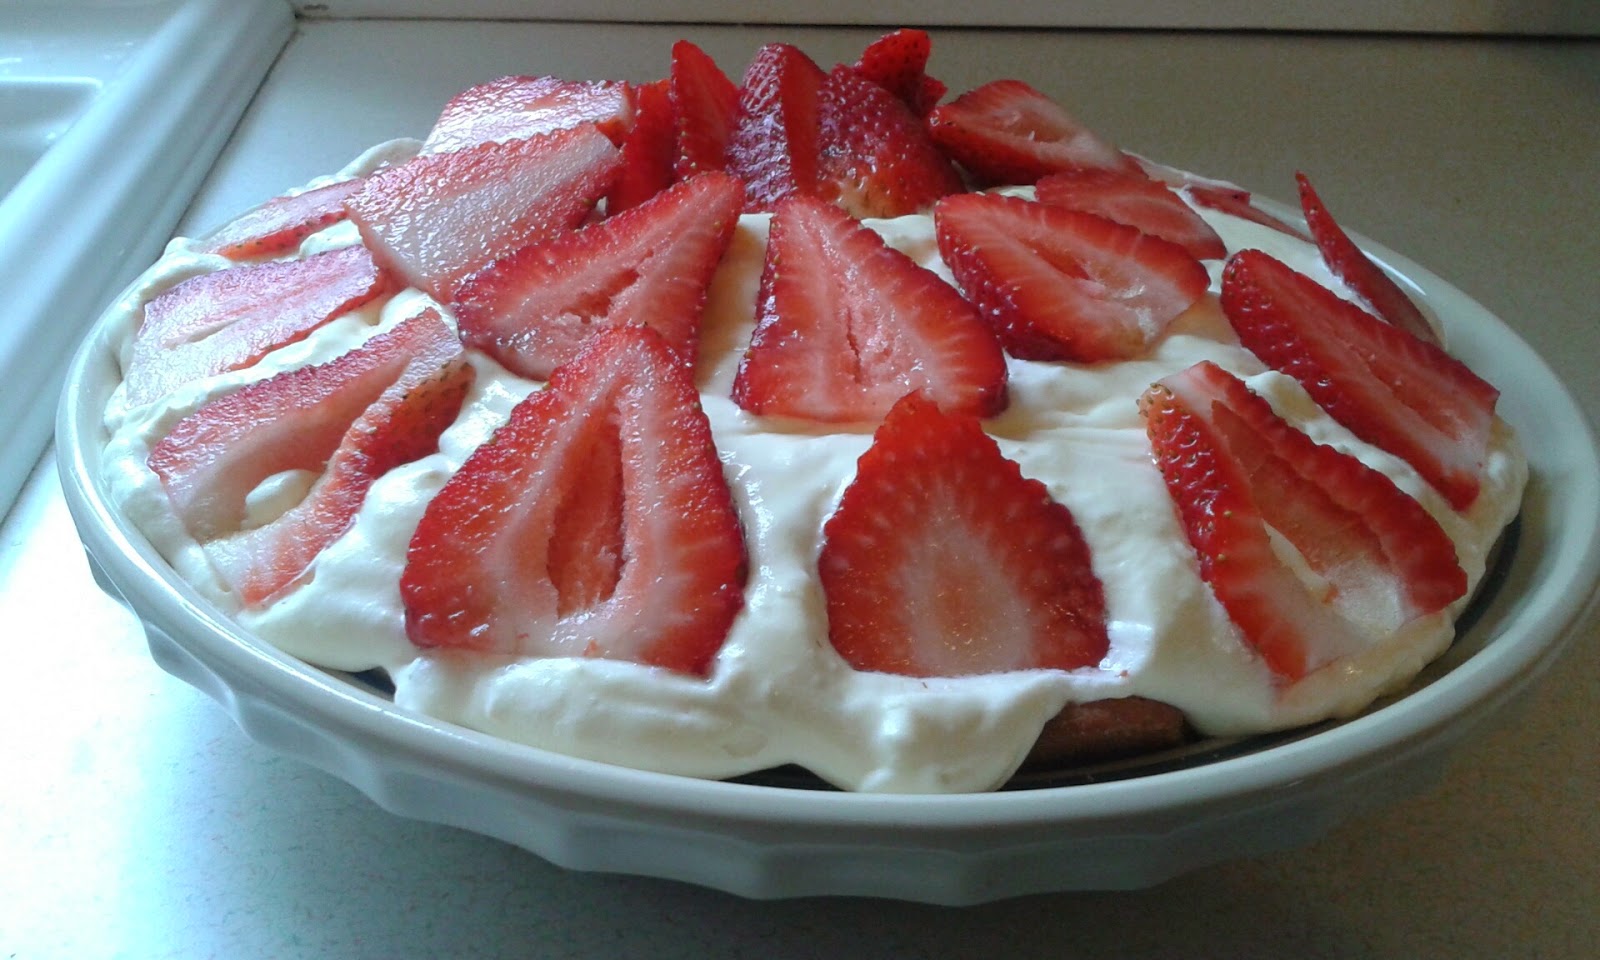
The last step is to arrange these gems on top of the pudding-y, pineapple-y pillow in the pie plate.


Yum yum yum! My kids love this dessert, and I bet you will too!


Cost breakdown:

1/2 box of vanilla wafer cookies  ($1.99/box)     $1.00
3 cups of milk  ($2.55/gallon = $0.16/cup)          $0.48
vanilla pudding mix                                              $1.99
1 can crushed pineapple (ALDI)                          $0.69
1 carton of frozen whipped topping                     $0.89
1/2 quart strawberries ($1.49/quart ALDI)          $0.75
------------------------------------------------------------------------

Grand Total                                                          $5.80

This pie easily has 8 servings, more if you have self-control! That's less than 75 cents per person for dessert!

Recipe

Ingredients-

1/2 box vanilla wafer cookies
sugar-free, fat-free vanilla pudding mix, large box, prepared
1 can of crushed pineapple, drained
1 carton frozen whipped topping, thawed
1/2 quart of cleaned, sliced strawberries

Instructions-

Line the cookies in a large pie plate (9"-10"). Mix prepared pudding with crushed pineapple and whipped topping until completely incorporated. Spoon mixture on top of cookies in pie plate until heaping and full. (Filling may not all fit in your pie shell. Reserve any remainder for another application.)
Top with sliced berries and refrigerate covered until ready to use.


Tuesday, April 14, 2015

$0.20 Bargain Twice-Baked Broccoli and Cheese Potatoes!

Twice Baked Broccoli and Cheese Potatoes


I got a great bargain on potatoes this week: five pounds of potatoes for $1! ONE DOLLAR! I bought the limit, of course, which was two bags. Our oldest daughter loves baked potatoes, so I decided to scrub these babies up and pop them in the oven.


I lined them up nice and pretty on baking sheets and put them in the oven. From ten pounds of potatoes, I got 25 potatoes... for only two bucks! (There were actually 26, but one was gross, so I threw it away.)  That's only 8 cents each!


I set my oven at 380 and left these beauties to cook and soften for about an hour. They weren't quite finished at an hour, so I left them in for another 30 minutes.


Once they finished in the oven, I stuck a fork in them, and it came out easily. The skin even has a different texture too when they're done cooking.


Next, I sliced the tops, and scooped out the middle of the potatoes.


I cooked up a big bag of frozen broccoli, and I mixed it with about a cup of mozzarella cheese. My family likes broccoli cooked really soft, but you can cook yours to your liking. You can use about any kind of cheese you like. I couldn't find any cheddar, so I reached for the mozzarella.


Mix it all up together really good. You could definitely add some softened butter at this point, but I wanted to keep these pretty lean. Add quite a bit of salt and pepper to this mixture.


Scoop the mixture and form it to fit inside each potato. Add a fair amount of mixture to each one. Pop these back into a hot 425 degree oven for about 15 minutes until the tops begin to brown.


When you take these out of the oven, let them cool for a bit before diving in! You could add some sour cream or a bit more cheese if you'd like. Or bacon. Bacon would be really good.


See how soft these are when they're finished?


I paired these potatoes with some grilled chicken, and some veggie quinoa. It was delightful!


Here's the math:


2- 5# bags of potatoes          $2.00 (on sale)
1 bag of frozen broccoli       $1.50 (Sam's Club regular price)
mozzarella cheese                $1.50 (ALDI regular price)
-------------------------------------------
                                             $5.00 Total Recipe Cost!

Since this recipe yielded 25 potatoes, that breaks down to 20 cents per potato! Talk about a bargain! I served these up for dinner, then I wrapped up the others and popped them in the freezer to use on a particularly hectic night when dinner is testing my patience.

Recipe: Twice Baked Broccoli and Cheese Potatoes


Ingredients-
10 # potatoes ( I used Russets)
1 large bag of frozen broccoli
1 cup  shredded mozzarella cheese
4 T butter, softened
salt and pepper

Instructions-
Preheat oven to 380 degrees. Scrub potatoes under hot running water. Arrange on sheet pans and bake until tender, about 90 minutes; turn potatoes over after 40 minutes. Allow to cool slightly, then slice the potato skin carefully to open just the top of the potato.Cook the broccoli until tender. Carefully scoop out the inside of the potato and place in a large bowl. Scoop insides from all potatoes, and mix together with cooked broccoli, mozzarella, salt and pepper. Mix thoroughly. Fill each potato generously with the broccoli cheese mixture. Top with a small amount of softened butter, then return to a 425 degree oven for 15 minutes until the tops of the potatoes brown slightly. Serve as meal or on the side.